


Windows are crucial for energy efficiency due to seal leaks. Knowing seal types—rubber gaskets, silicone, and urethane foam—is essential for insulation and cost savings during side window replacements. Accurate measurement and surface preparation are vital. Understanding the step-by-step process ensures a perfect fit and effective seal, enhancing energy efficiency and interior comfort.
“Looking to enhance your home’s energy efficiency? Mastering proper window sealing is key. This comprehensive guide caters to complete beginners, offering insights into different seal types and walking you through the process of replacing side windows. From understanding essential components to measuring and installing like a pro, we break down each step for successful side window replacement. Elevate your DIY skills and say goodbye to drafty days.”
- Understanding Your Window Seal Types
- Measuring and Preparing for Replacement
- Step-by-Step Guide to Side Window Installation
Understanding Your Window Seal Types
Windows are a vital part of any building, providing light, ventilation, and an escape route. However, they also present a potential weakness in energy efficiency due to air leaks. Understanding your window seal types is crucial for effective insulation and saving on energy costs, especially when considering a side window replacement. Different seals serve various purposes, from weatherproofing to ensuring the longevity of your vehicle’s (or building’s) structure, much like how automotive restoration specialists approach auto maintenance to keep vehicles in peak condition.
There are primarily three types of window seals: rubber gaskets, silicone seals, and urethane foam. Rubber gaskets, common in older windows, offer basic protection against weather but degrade over time. Silicone seals, on the other hand, provide superior flexibility and resistance to UV rays, making them ideal for exterior applications. For side window replacement projects or auto maintenance tasks involving car windows, silicone seals ensure a tight fit, preventing water intrusion and reducing noise. Urethane foam seals are known for their excellent insulating properties, making them suitable for both residential and commercial buildings, similar to how collision repair services enhance vehicle safety after an accident.
Measuring and Preparing for Replacement

Before you begin your side window replacement project, accurate measurement and preparation are key steps. Take the time to measure the dimensions of the existing window opening to ensure a perfect fit for your new side window. This process will help avoid any issues during installation, ensuring a smooth and seamless process.
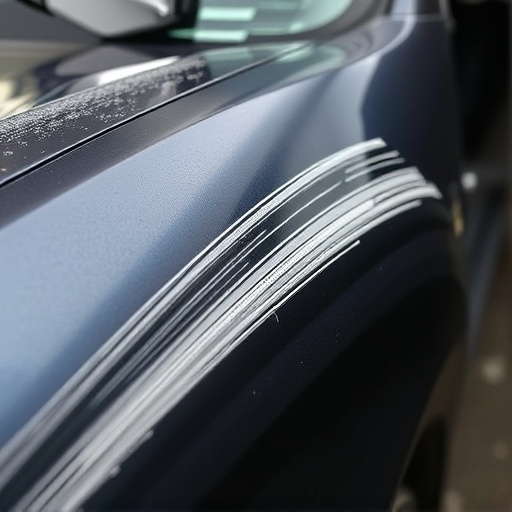
In preparing for the replacement, consider any necessary repairs to the surrounding areas. Even if you’re focusing solely on the side window replacement, addressing minor car scratch repair or vehicle collision repair can enhance the overall appearance of your luxury vehicle. Properly prepared surfaces will ensure better adhesion of the new window, providing long-lasting results that protect against elements and maintain a sleek aesthetic for your ride.
Step-by-Step Guide to Side Window Installation

When it comes to side window replacement, understanding the process is key to achieving a secure and effective seal. Here’s a step-by-step guide for beginners to ensure your new windows fit perfectly and keep out unwanted elements. First, gather all necessary tools including a putty knife, silicone caulk, and any specific hardware included with your replacement side window. Begin by removing the old window carefully, using pry bars or a suitable tool to gently lift it away from the frame. Once the old window is out, clean the frame thoroughly to remove any debris or residue.
Next, measure the opening precisely to get the correct size window. Install new weatherstripping if needed, ensuring a tight seal around the window’s perimeter. Apply a bead of silicone caulk along the window’s edges and press the new side window into place. Use spacers to maintain even gaps between the glass and frame. After the window is seated firmly, remove any excess caulk with a putty knife for a clean finish. This meticulous approach ensures your side window replacement not only looks great but also functions optimally, enhancing both energy efficiency and interior comfort—similar to how auto body repair services meticulously fix car dents to restore their original condition.
Proper window sealing is a crucial step in ensuring your home’s energy efficiency, comfort, and security. By understanding your seal types, measuring correctly, and following a detailed installation guide for side window replacements, you can significantly improve your living space. Remember, the process may seem daunting, but with the right tools and knowledge, you can achieve professional-level results, enhancing your home’s value and your own satisfaction.