


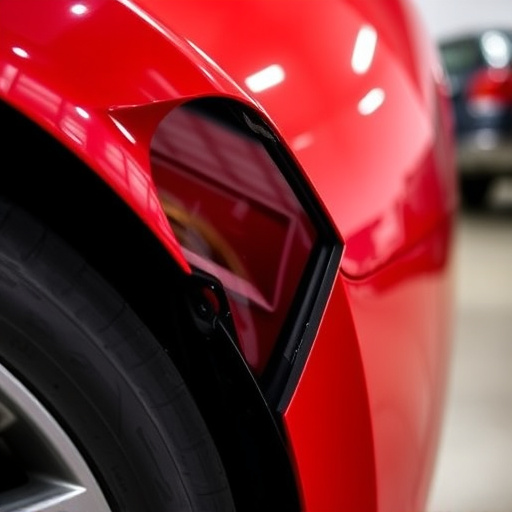


Side window replacement requires careful consideration of unique designs and tools. DIYers should gather essential tools like screwdrivers and measuring tape, as well as specific materials for installation. For complex tasks, professionals skilled in automotive body work offer expert services comparable to a body shop. Begin with a cost-effective DIY project by gathering necessary tools and materials, removing the old window, cleaning the opening, applying sealant, aligning the new window, and securing it with screws for a smooth finish.
Thinking of replacing your side windows yourself? This complete beginner’s guide is your go-to resource. We break down the process step by step, from understanding your specific side window replacement needs to efficiently gathering all the necessary tools and materials. By the end, you’ll be equipped with the knowledge to tackle this project confidently.
- Understanding Side Window Replacement Needs
- Gathering Tools and Materials for Installation
- Step-by-Step Guide to Efficiently Replace a Side Window
Understanding Side Window Replacement Needs

When considering a DIY approach to window replacement, it’s crucial to understand that side windows present unique challenges compared to larger, more accessible ones. These smaller panes often have intricate designs and are strategically placed to provide optimal visibility and ventilation. Before embarking on this project, assess your needs and the specific characteristics of these side windows.
Different vehicles, whether it’s a car or truck, have varying window types and sizes. Some may require specialized tools due to their position within complex automotive body work. For instance, if you’re dealing with side windows near door frames or other components, ensure you have the right equipment to avoid damaging adjacent parts during removal and installation. Remember, while a DIY approach can save costs, tackling intricate tasks like side window replacement might be better left to professionals who offer expert services, akin to those provided in a body shop, for more complex repairs such as car dent repair or automotive body work.
Gathering Tools and Materials for Installation

Before tackling any DIY project, having the right tools and materials is paramount for a successful side window replacement. For this task, you’ll need a mix of standard household items and specific automotive supplies. Start by gathering essential tools such as a measuring tape, level, screwdrivers (both flathead and Phillips), a putty knife, and a vacuum cleaner with an attachment nozzle. Don’t forget safety gear like gloves and safety glasses to protect yourself from debris and sharp edges.
For the actual installation, you’ll require specific materials designed for vehicle restoration or automotive body shop work. This includes window sealant, weatherstripping, and new window glass. Ensure you purchase parts compatible with your vehicle’s make and model for a precise fit. Some hardware stores or online retailers offer kits tailored to common side window replacements, making the process more accessible for beginners.
Step-by-Step Guide to Efficiently Replace a Side Window

Replacing a side window is a manageable DIY project that can save you significant costs compared to professional installation, especially when it comes to luxury vehicle repairs. Before beginning, gather your tools and materials: new window pane, replacement sealant, a putty knife for applying the sealant, and safety goggles. Start by removing the damaged window, being mindful of any glass shards. This process involves carefully prying out the old window frame using a flathead screwdriver, ensuring not to damage surrounding components.
Next, clean the opening thoroughly to remove dirt or debris left from the car collision repair. Apply the replacement sealant around the new window’s edge, following the manufacturer’s instructions for proper curing time. Once the sealant is set, carefully insert and align the new window pane into place. Use a level to ensure it’s properly seated before securing it with screws from behind, using a drill or screwdriver. This step completes your side window replacement, offering both functionality and peace of mind after vehicle body repair.
Replacing a side window is a manageable DIY project that can significantly enhance your home’s energy efficiency and security. By understanding your needs, gathering the right tools and materials, and following a step-by-step guide, you can successfully complete this task. With these tips in mind, you’re now equipped to navigate the process with confidence and enjoy the benefits of a freshly replaced side window.