


Understanding window types and their unique challenges is crucial for effective side window replacement. Gather essential tools and materials like silicone caulk, weatherstripping, and a heat source to ensure precise sealing and temporary weatherproofing. Before starting, protect bodywork, remove old windows, clean openings, apply sealant, insert new windows, and temporarily secure them. This meticulous approach enhances energy efficiency, aesthetics, and performance.
“Discover the secrets to transforming your home’s energy efficiency with our comprehensive guide to proper window sealing. From understanding diverse window types and styles to equipping yourself with the right tools and materials, we empower beginners to tackle projects confidently. Learn the step-by-step process of replacing side windows, ensuring a secure fit and enhanced comfort. Master these techniques and say goodbye to drafty days! Get ready to enhance your living space with our expert tips on side window replacement.”
- Understanding Your Window Types and Styles
- Tools and Materials for Effective Sealing
- Step-by-Step Guide to Side Window Replacement
Understanding Your Window Types and Styles
Understanding your window types and styles is a crucial step before diving into proper sealing techniques. Different windows serve different purposes and have unique features that impact how they need to be sealed. For instance, side window replacement in cars or homes involves considering factors like weatherstripping, which can vary based on the vehicle or building’s age and model. In automotive repair, body shop services, or even when tackling a DIY project, identifying these variations ensures you select the right sealing products for effective protection against elements like water, air, and noise.
Each window style—from double-hung to casement, slider, or bay—has specific challenges and benefits in terms of sealing. Knowing these differences enables you to make informed decisions when it comes to choosing sealants, gaskets, and other materials. For example, a car’s side windows require different sealing methods than a large bay window in a home, taking into account factors like temperature changes, UV exposure, and the need for easy operation.
Tools and Materials for Effective Sealing
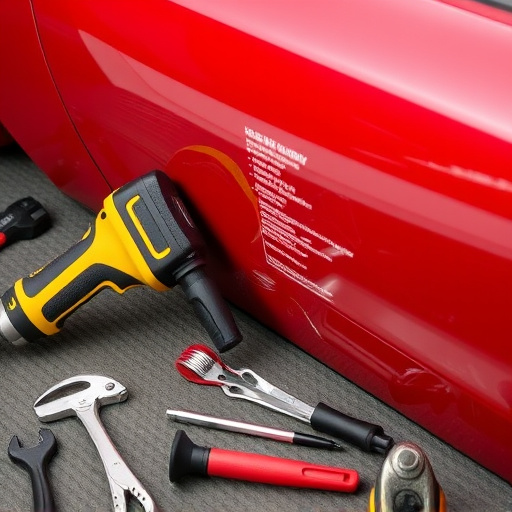
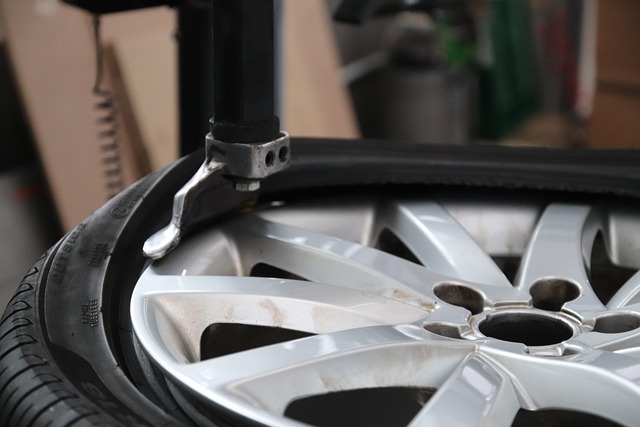
To ensure effective window sealing, you’ll need a few key tools and materials. Start with high-quality silicone caulk—a water-resistant adhesive ideal for sealing gaps around windows. A caulk gun is essential for applying the caulk precisely, allowing you to create tight seals. Don’t forget about weatherstripping, flexible strips that fit along the sides of windows, providing an additional barrier against drafts and moisture. For side window replacement projects, consider using a putty knife or a multi-tool with various blades to remove old sealing materials without damaging the window frame, preparing the surface for new caulk application.
Additionally, grab some plastic sheeting, tape, and a heat source like a hairdryer for temporary weatherproofing during the car collision repair process if necessary. These simple tools enable you to create a secure, energy-efficient space, especially after vehicle bodywork repairs or when replacing side windows. Always store your materials safely and keep them within reach to ensure a smooth, efficient sealing job.
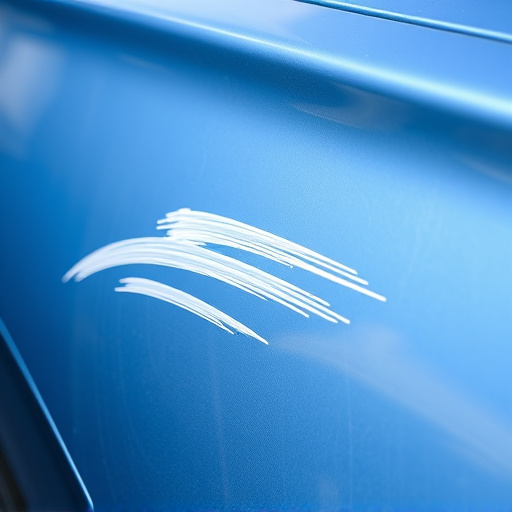
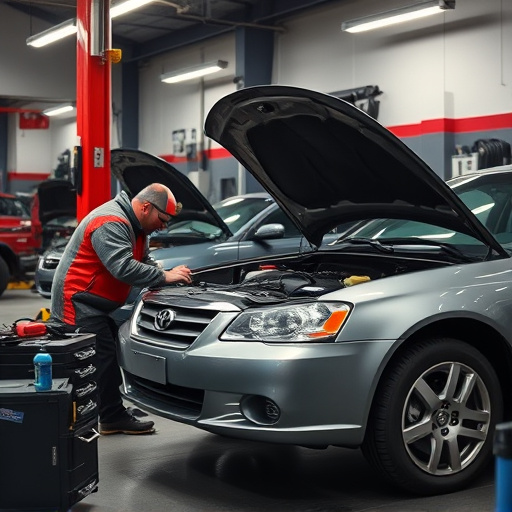
Step-by-Step Guide to Side Window Replacement
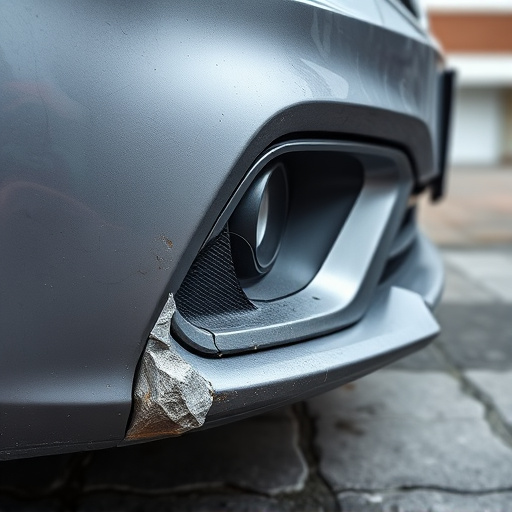
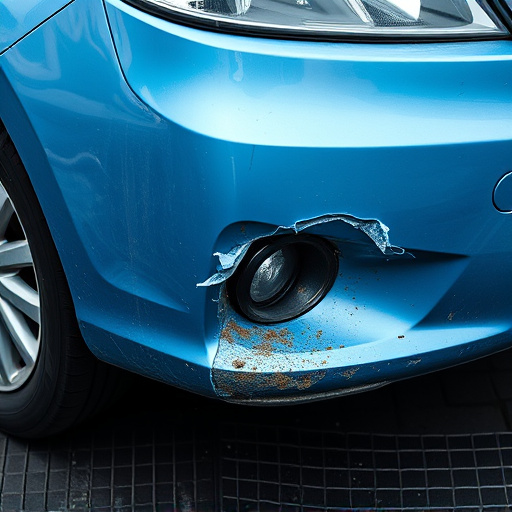
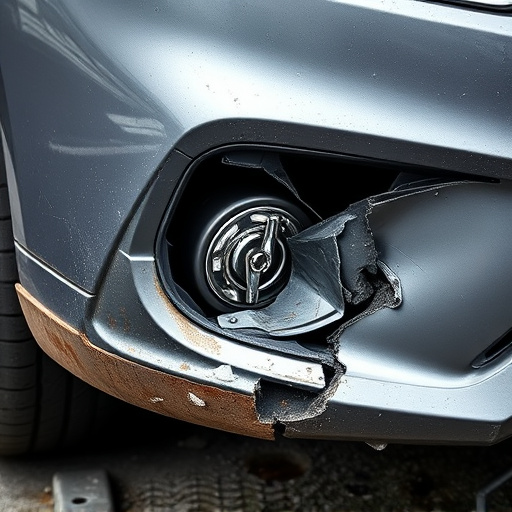
Side window replacement is a crucial aspect of maintaining your vehicle’s aesthetics and functionality. Before diving into the process, ensure you have the right tools and materials, including new side windows, sealants, and cleaning supplies. Protecting your car’s bodywork services during this process is vital to prevent scratches or dents. Start by removing the old window, taking note of any hardware left behind for later reuse. Clean the opening thoroughly to ensure optimal adhesion for the auto glass replacement.
Apply a bead of sealant along the window frame, following the manufacturer’s instructions for the best results. Insert the new window, pressing it firmly into place while ensuring it aligns correctly with the car body. Use clamps or wedges temporarily to hold the window in position until the sealant sets, typically within 24 hours. This meticulous approach guarantees a secure fit, enhancing both your vehicle’s appearance and performance, with benefits extending to improved energy efficiency through effective sealing, similar to how vehicle paint repair restores a car’s protective layer.
Proper window sealing is a crucial step in enhancing your home’s energy efficiency and comfort. By understanding different window types, gathering the right tools and materials, and following a systematic approach for side window replacement, as outlined in this guide, you can significantly improve your home’s insulation and reduce heating and cooling costs. Remember, even small adjustments can make a big difference, so take on these tasks with confidence and enjoy the benefits of better-sealed windows all year round.