


Homeowners should prioritize functional and secure windows, performing regular maintenance after extreme weather or accidents. Damage like cracks, warping, or opening/closing issues signals the need for a side window replacement, which isn't just about aesthetics. Promptly replacing damaged windows enhances security, prevents energy loss, and ensures customer satisfaction in vehicle body shops. Before replacement, assess damage, take measurements, clean the area, and schedule a convenient time. Beginners should gather essential tools and materials, measure accurately, remove old windows, clean the opening, insert shims, position new windows, apply caulk, test operation, and make adjustments.
Are you prepared for an unexpected side window emergency? This comprehensive guide is tailored for complete beginners navigating the process of replacing a damaged or broken side window. Learn when it’s time for a side window replacement and what steps to take before beginning the installation. We’ll walk you through each crucial step, ensuring a smooth and successful DIY experience. From preparation to final touches, master the art of installing a new side window efficiently.
- Understanding When You Need a Side Window Replacement
- Preparing for Your Emergency Window Replacement
- Step-by-Step Guide to Installing a New Side Window
Understanding When You Need a Side Window Replacement
Many homeowners often overlook the importance of having functional and secure windows until an issue arises. Knowing when to opt for a side window replacement is crucial for maintaining your home’s safety, energy efficiency, and overall comfort. While a broken or damaged window might initially seem like a minor inconvenience, it can quickly escalate into a more significant problem. If you notice signs such as cracks, warping, difficulty opening or closing, or loose fitting windows, it’s time to consider a replacement.
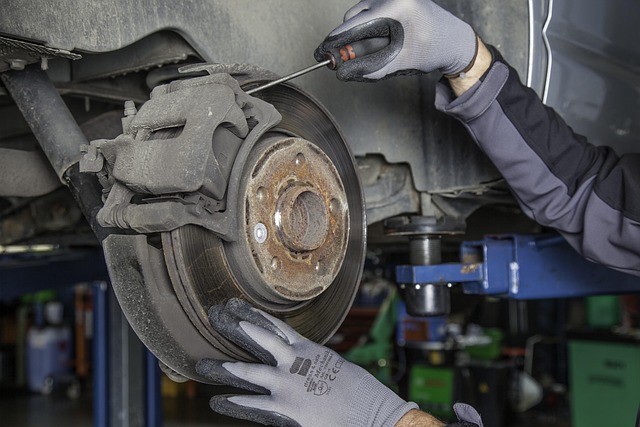
Regular maintenance checks are essential, especially after severe weather events or accidents involving your vehicle (including car repair services and vehicle collision repair). A side window replacement may be necessary if the existing window is compromised, as it could leave your home vulnerable to intruders or further damage. Moreover, damaged windows can lead to energy loss, making your heating or cooling systems work overtime. Promptly addressing these issues ensures a safer environment and prevents costly repairs in the long run, considering even a simple side window replacement can significantly impact your vehicle body shop’s overall performance and customer satisfaction.
Preparing for Your Emergency Window Replacement

Before your emergency window replacement, it’s crucial to prepare for a smooth and efficient process. Start by assessing the damage to your vehicle, specifically focusing on the side windows. If possible, take measurements of the broken or cracked panes to ensure accurate replacements. Cleaning the area around the damaged window is essential; remove any debris or remnants from previous collisions or accidents. This step will make it easier for the replacement team to access and install new windows without additional mess.
Additionally, consider your availability during the replacement process. Schedule a time that works best for you, ensuring you or someone authorized can be present to facilitate communication with the auto body shop or window replacement specialists. Remember, prompt action is vital in emergency situations, but effective preparation will help streamline the car body restoration process and ensure your vehicle’s side window replacements are handled expertly.
Step-by-Step Guide to Installing a New Side Window

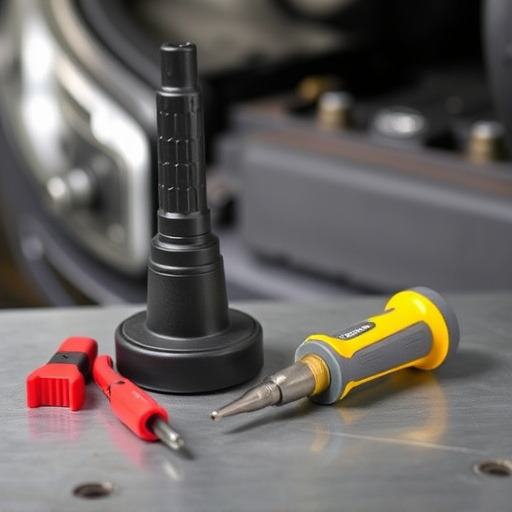
Installing a new side window is a crucial step in any emergency window replacement process. Here’s a straightforward guide to help beginners navigate this task. First, gather all necessary tools and materials, including the new side window, shims, caulk, a putty knife, and safety goggles. Ensure proper fitment by measuring the opening carefully before removing the old window. Next, carefully take out the damaged or broken side window, being mindful of any associated hardware. Prepare the rough opening by cleaning it and checking for any debris or remnants from the previous window.
Now, insert shims into the gaps between the rough opening and the frame to ensure precise alignment. Position the new side window into place, ensuring it’s level and properly seated. Apply caulk around the window’s perimeter, smoothing it out with a putty knife for a neat finish. This step not only enhances the window’s seal but also adds a professional touch. Finally, test the window’s operation to guarantee smooth opening and closing, much like how you’d perform basic automotive repair on your vehicle. In case of any issues, adjust as needed until the window functions flawlessly.
A successful emergency side window replacement is within reach for any homeowner with the right knowledge. By understanding when a new window is necessary, preparing your space, and following a detailed step-by-step guide, you can efficiently install a durable solution that enhances both safety and energy efficiency. Remember, quick action in these situations is key, so equip yourself with these essentials for a seamless side window replacement process.