


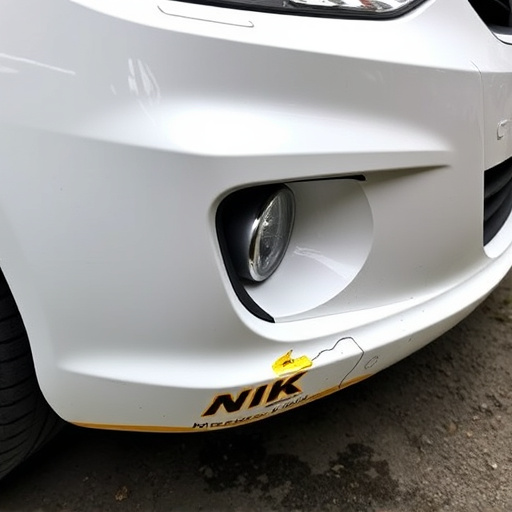
This guide outlines essential steps for successful side window replacement, catering to DIY enthusiasts and fleet owners. It stresses using compatible, high-quality parts from trusted suppliers, preparing a safe workspace, and wearing protective gear during installation. For fleet vehicles, it recommends professional auto repair services to preserve structural integrity. By following these precautions and steps—whether DIY or professional—individuals can securely replace side windows. Gather tools like impact wrenches, screwdrivers, and sealing compounds; prepare the vehicle on a level surface; remove the damaged window; clean the opening; install the new window; apply sealant; insert rubber grommets; and tighten screws for a water-tight seal. For complex issues, consult a specialized collision repair shop.
Are you preparing for an emergency window replacement? This comprehensive guide is tailored for complete beginners, offering a step-by-step approach to replacing your side window efficiently. From understanding essential precautions and gathering necessary tools to mastering the installation process, we’ve got you covered. Learn how to navigate this task with ease and ensure your home’s security and comfort. Master the art of side window replacement today!
- Understanding Side Window Replacement: Essential Steps and Precautions
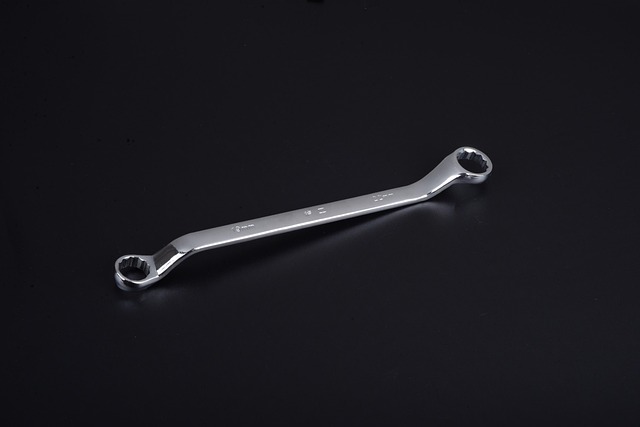
- Gathering Tools and Materials for a Successful Installation
- Step-by-Step Guide: Replacing Your Side Window Like a Pro
Understanding Side Window Replacement: Essential Steps and Precautions

Understanding Side Window Replacement: Essential Steps and Precautions
Side window replacement is a crucial task for any homeowner or fleet owner looking to enhance safety and aesthetics. Before initiating this process, familiarize yourself with the basics. Begin by gathering high-quality replacement parts suitable for your vehicle model from trusted auto parts suppliers. Ensure compatibility to avoid installation issues. The next step involves preparing the workspace around the window to be replaced. This may include clearing debris, securing tools, and arranging safety equipment. Safety precautions are paramount; wear protective gear like gloves and safety goggles throughout the process.
For fleet owners or those seeking professional help, consider contacting reliable auto repair services near you. These experts have the expertise and tools for efficient side window replacement, ensuring your vehicle’s structural integrity and your comfort. Remember, proper installation is key to preventing future issues, so take your time and follow instructions diligently. Whether handling it yourself or relying on fleet repair services, understanding these fundamental steps will contribute to a successful side window replacement process.
Gathering Tools and Materials for a Successful Installation

Before starting a side window replacement project, it’s crucial to gather all necessary tools and materials. This includes a variety of specific items designed for precise, efficient installation. For instance, you’ll need new windows tailored to your vehicle’s make and model, along with essential tools such as impact wrenches, screwdrivers, and pliers. Don’t forget protective gear like gloves and safety glasses.
Additionally, consider gathering supplies from a trusted auto body shop or car bodywork services provider. They often carry high-quality sealing compounds, adhesive, and putty knives, which are vital for achieving a secure and water-tight seal during the side window replacement process. Ensuring you have everything on hand allows for a smooth, successful installation without unnecessary delays.
Step-by-Step Guide: Replacing Your Side Window Like a Pro

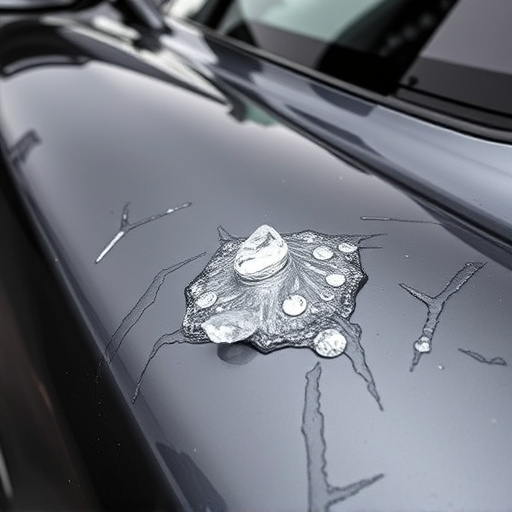
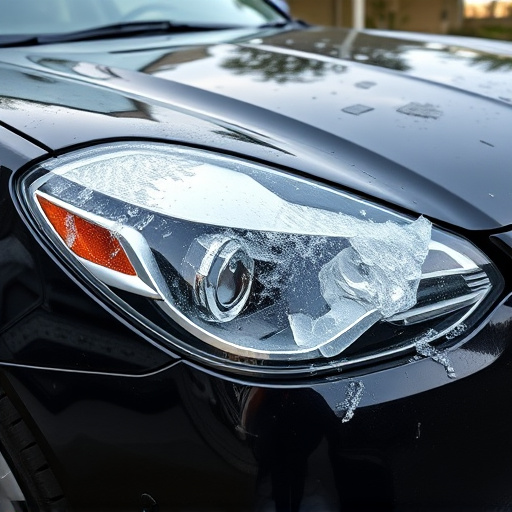
Replacing a side window is a crucial task for any car owner to learn, especially if you’re faced with a break or crack. Here’s a step-by-step guide to help you navigate this process like a pro. First, gather all necessary tools and materials, including a new side window glass, sealant, and rubber grommets. Park your vehicle on a level surface and engage the parking brake for safety. Then, carefully remove the broken or damaged window by unclipping it from the frame and prying it out with a flathead screwdriver.
Next, clean the window opening to ensure proper adhesion of the new glass. Install the new side window, aligning it carefully with the metal channels. Apply sealant around the edges to secure the glass in place, ensuring it creates a tight seal. Finally, insert the rubber grommets into the openings and tighten any screws or clamps to complete your side window replacement. Remember, this process may require some patience and precision, but with the right tools and these simple steps, you can handle basic side window replacements yourself, even if you’re not a pro mechanic. For more complex cases or if you lack confidence, consider seeking help from a reputable collision repair shop, offering expert fender repair services.
Emergency window replacement is now within your grasp. By understanding the essential steps and precautions, gathering the right tools and materials, and following a step-by-step guide, you can confidently handle side window replacement like a pro. Remember, safety first, then precision – with these tips in hand, you’re well-equipped to navigate this task smoothly. Happy replacing!